Run one command in your Proxmox node shell, answer a few questions about resources and configuration, and your LXC or VM is up in minutes. That’s the idea behind community-scripts.org: a catalog of scripts that automate creation and setup in a single pass.
Prerequisites: this guide assumes Proxmox VE is already installed and working, with root access to the node (via the web UI or SSH). You do not need advanced Linux knowledge to follow the examples, but it helps when reading the scripts (see the security section below).
What is community-scripts.org?
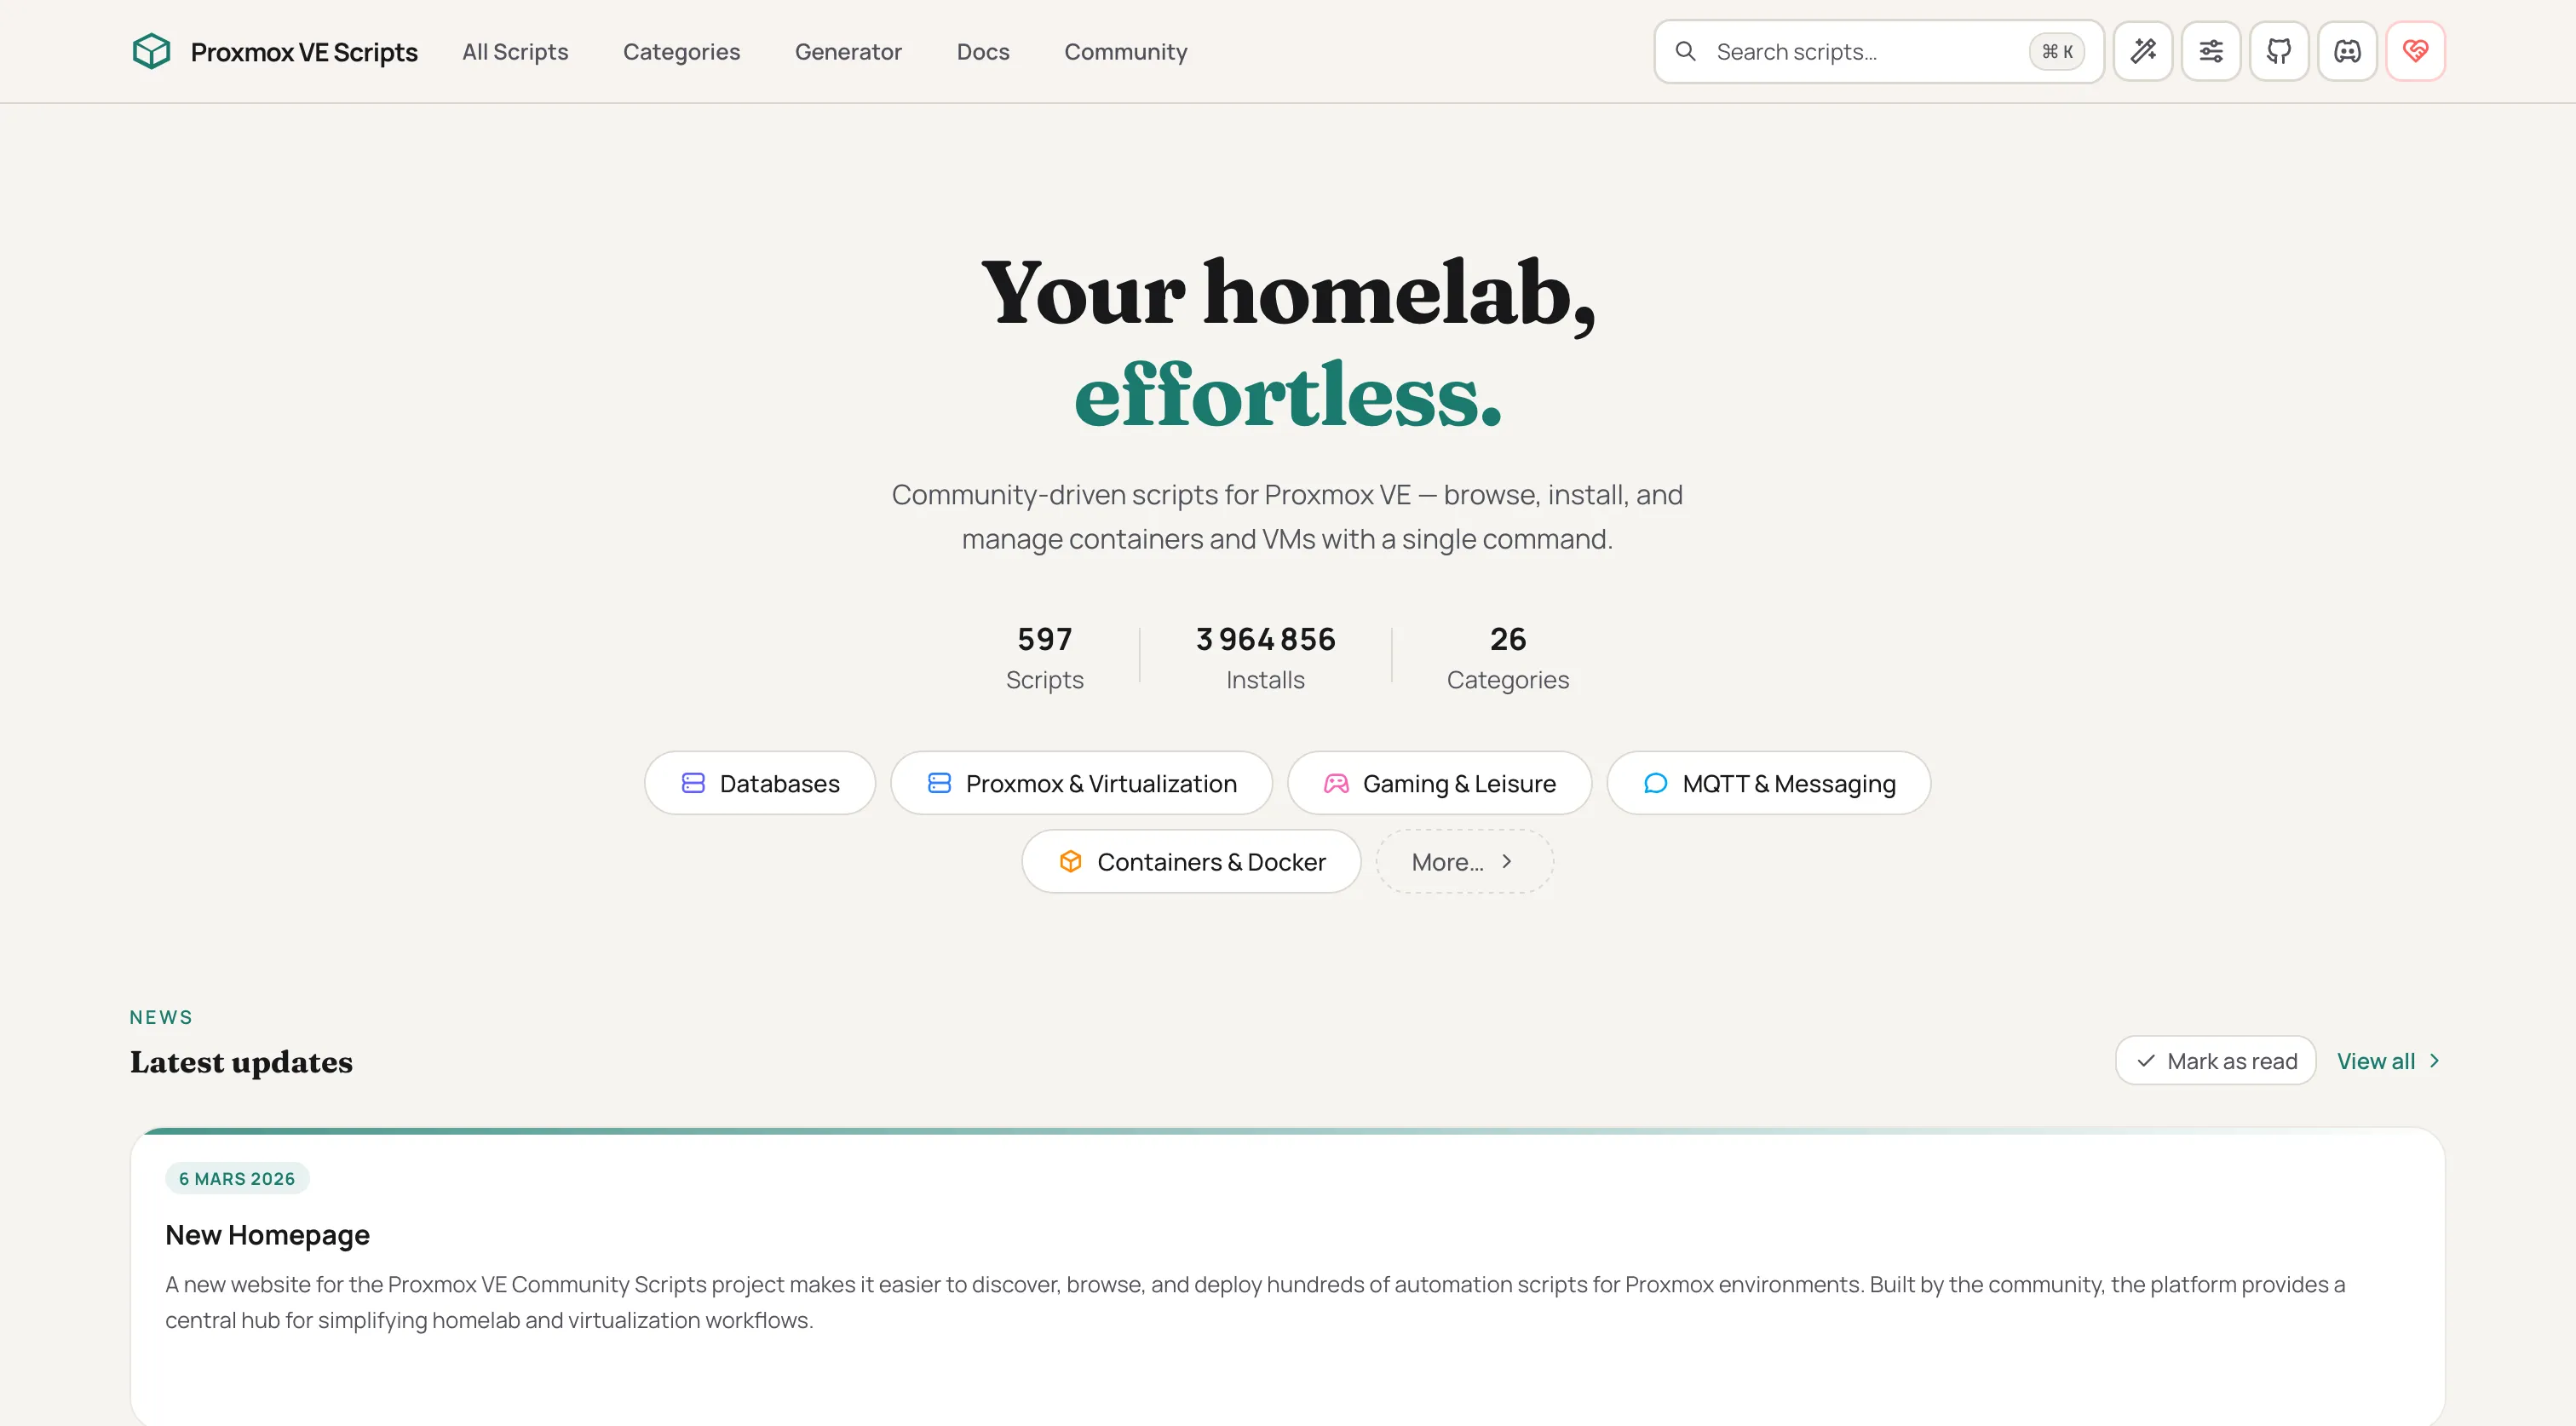
Community-scripts.org hosts the Proxmox VE Helper-Scripts project (Community Edition), built from the scripts of tteck, a well-known figure in the Proxmox community. After his passing, the community took over and keeps enriching the project in his memory.
At the time of writing, the site lists nearly 600 scripts to create LXCs (Linux containers) and VMs (virtual machines) on Proxmox, covering services as varied as AdGuard Home, Gitea, Home Assistant OS, or n8n.
Security: read before you run
Before going further, an important point: these scripts run directly in a shell on your Proxmox node as root. That is convenient, but it also means they have full control over your machine. Community-scripts is no exception.
A few good practices before using these scripts:
Check that you are on the official site. Copies or imitations may exist. Always work from community-scripts.org and verify each script source before running it.
Read the script before you run it. On the site, each service links to its source code and related scripts. Skim them quickly, you do not need to understand everything. Look for unusual commands, downloads from unknown domains, or system changes that seem odd.
If you are not comfortable with bash, have an LLM analyze it: it can explain what the scripts do and flag suspicious parts.
If you spot something wrong, the right move is to try to fix it and open a pull request, or at least create an issue if you are not comfortable with code. That is also how you contribute to the community.
Verify the source. The code is hosted on GitHub, open to everyone. Scripts are reviewed by contributors and every change is tracked.
Start with a non-critical service. If you are new, avoid testing a fresh script on a service that hosts important data. Deploy on something you can delete without consequences first. You can always recreate the LXC or VM in one command if something goes wrong.
With those precautions in mind, community-scripts is a serious, actively maintained project used by thousands of homelabbers.
Install Gitea in an LXC
Gitea is a lightweight, self-hosted git forge: the open source alternative to GitHub or GitLab. It is a great LXC candidate because it is not resource-hungry and runs comfortably with 1 GB of RAM.
1. Copy (and review) the command
On community-scripts.org, search for “Gitea” and copy the suggested command. It looks like this:
bash -c "$(curl -fsSL https://raw.githubusercontent.com/community-scripts/ProxmoxVE/main/ct/gitea.sh)"Always verify the command directly on the site, it may be updated.
On the service page, the Advanced tab exposes sliders to adjust CPU, RAM, and disk before copying the command. The generated command includes those values automatically:
var_cpu="2" var_ram="2048" var_disk="16" bash -c "$(curl -fsSL https://raw.githubusercontent.com/community-scripts/ProxmoxVE/main/ct/gitea.sh)"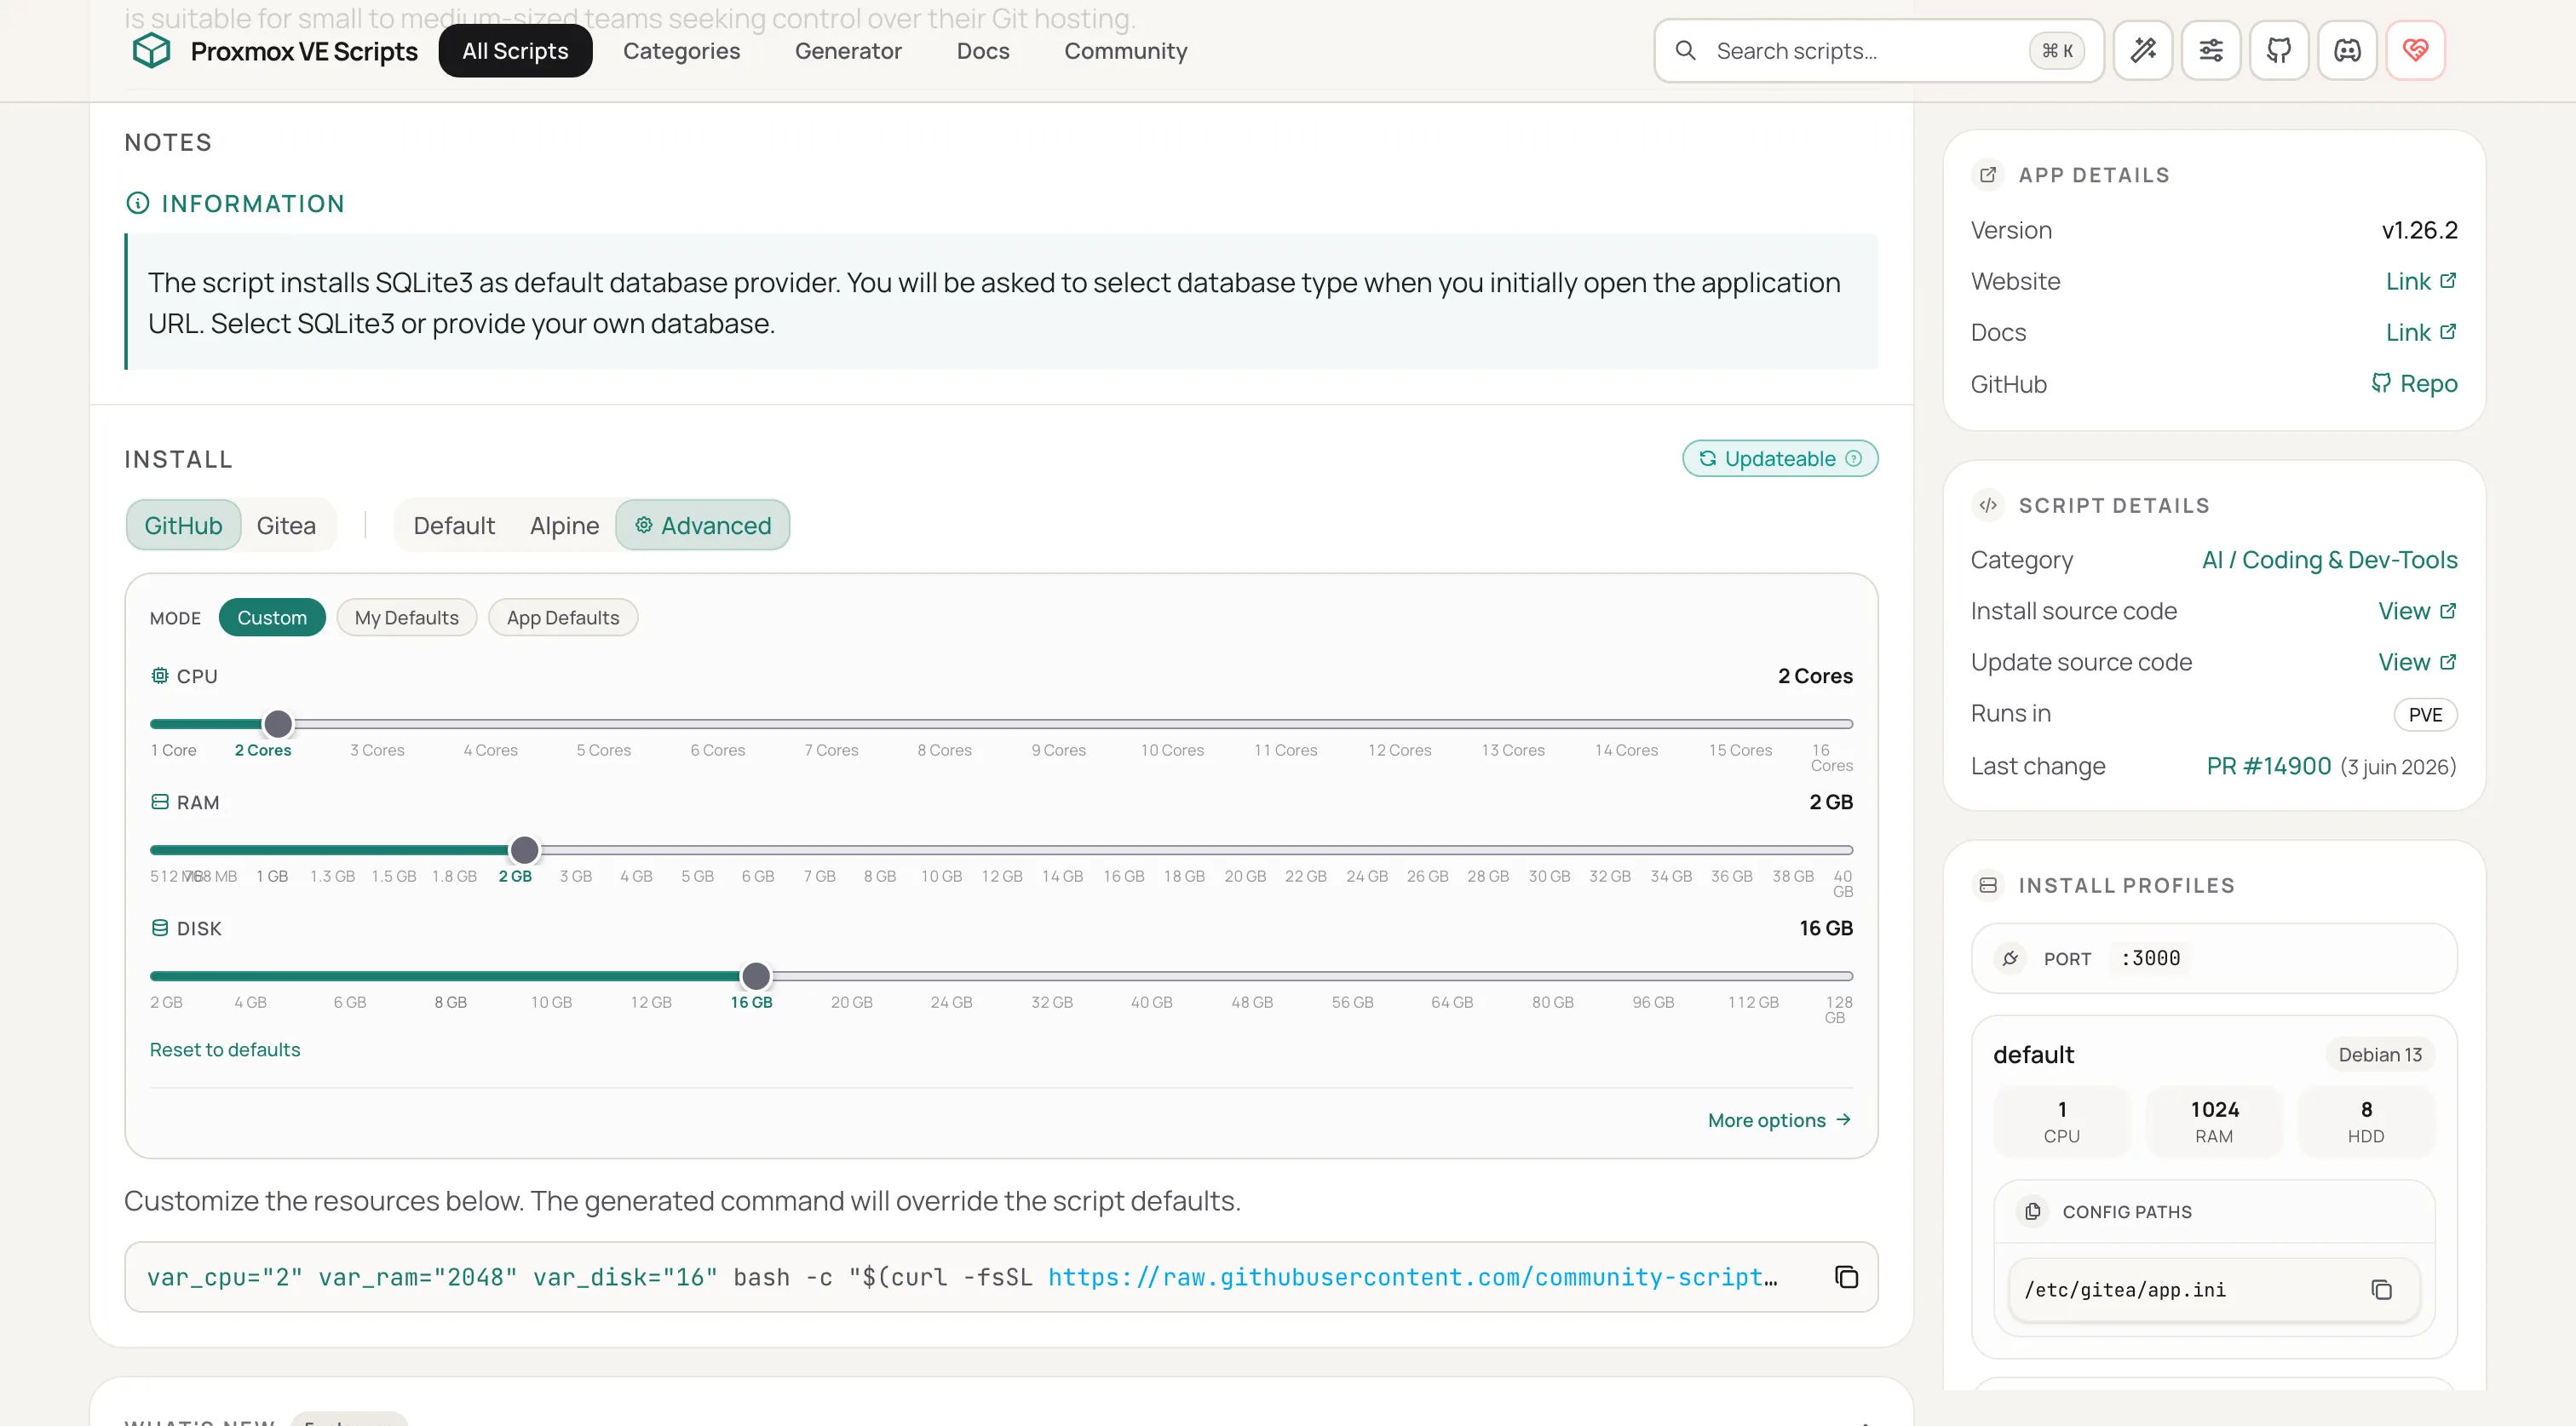
2. Open your Proxmox node shell
You must be connected to the host node, that is the Proxmox server itself, not inside an existing VM or LXC. Two ways to get there: from the Proxmox UI, click your node (its name appears at the top of the left tree under Datacenter) then Shell. Or connect directly via SSH (ssh root@Proxmox-IP).
3. Paste and run the command
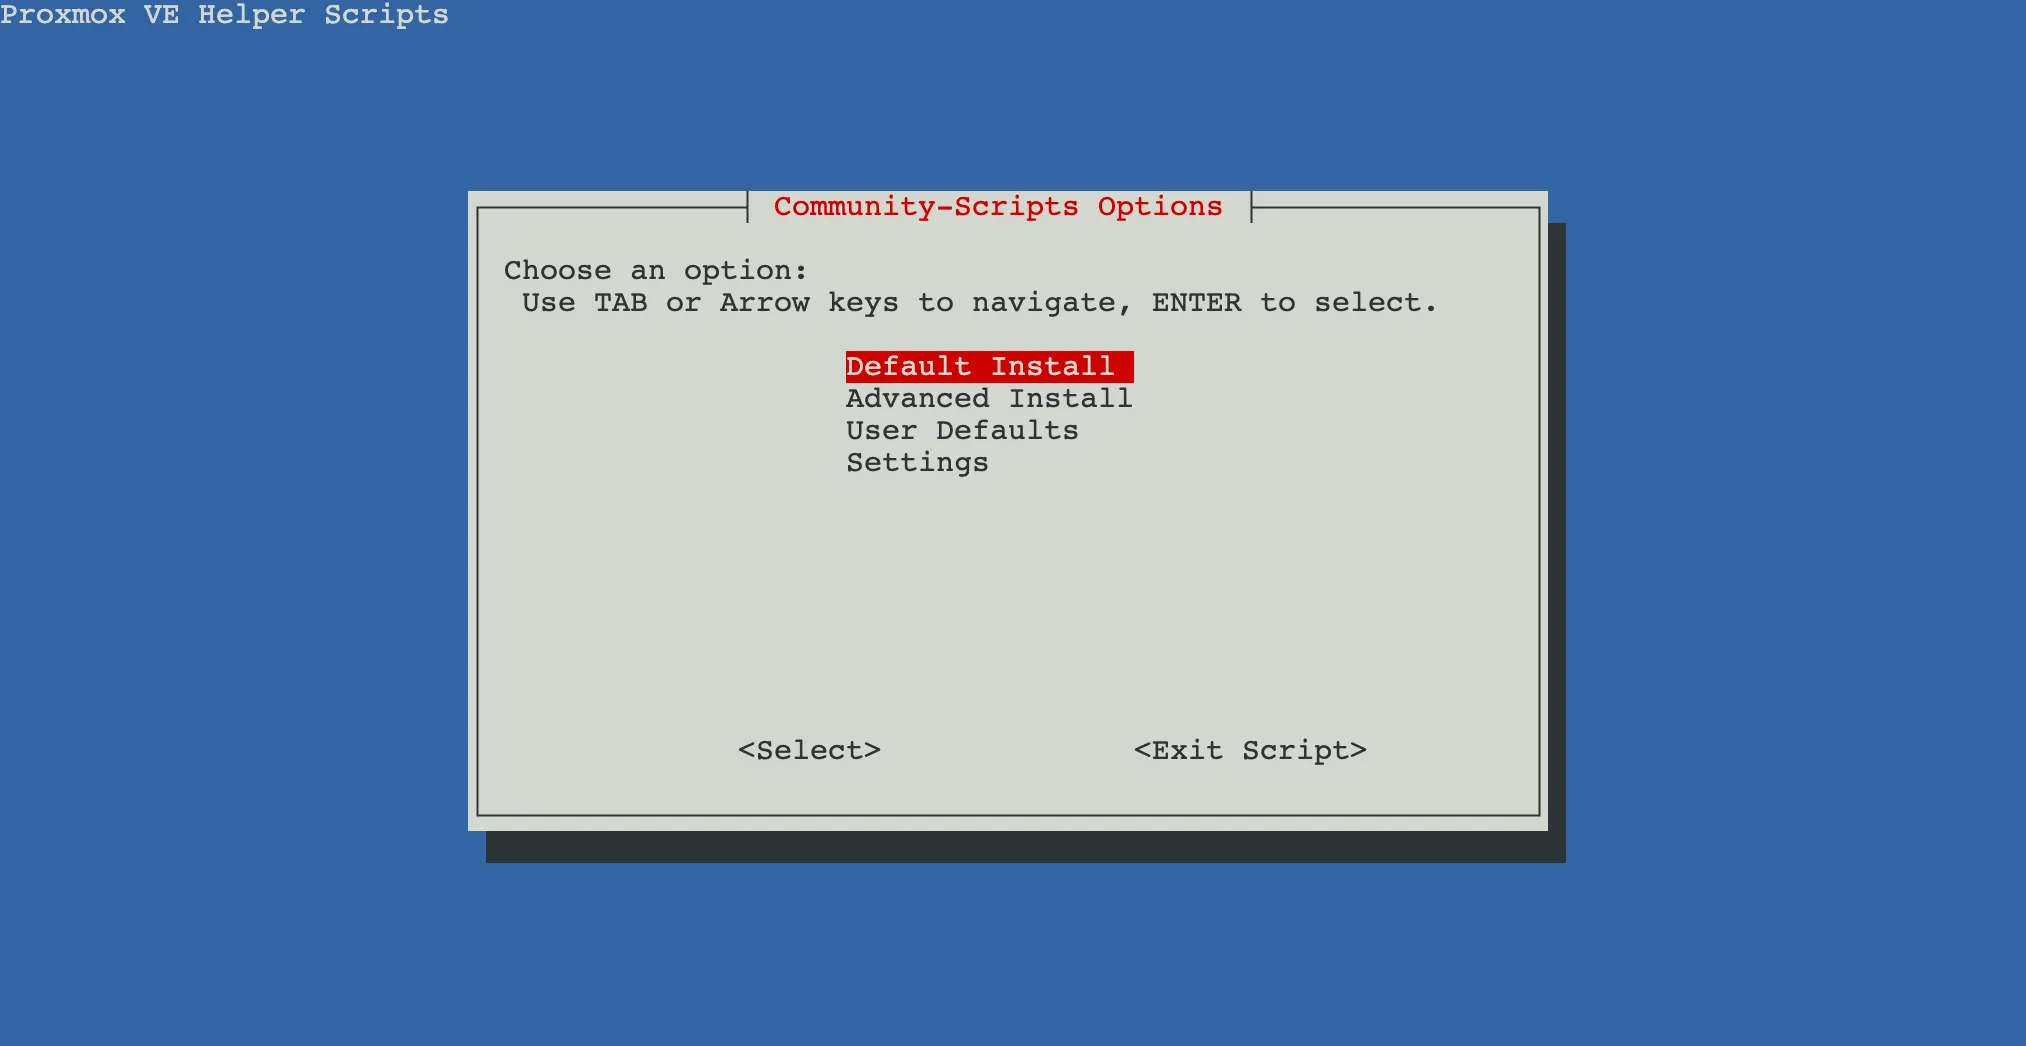
Paste the command from step 1 and confirm. The wizard starts and offers four options:
- Default Install: the fastest method, default settings are applied automatically. You can review them on the service page on community-scripts.org before launching.
- Advanced Install: takes a bit longer because you answer each configuration option, but lets you fine-tune everything (RAM, CPU, root password, LXC ID, and more). If your network uses VLANs for example, you configure them here. Default Install will not.
The last two menu entries (User Defaults and Settings) are for pre-defining reusable values for future scripts and adjusting more advanced settings. For this first deployment, stick to Default Install or Advanced Install.
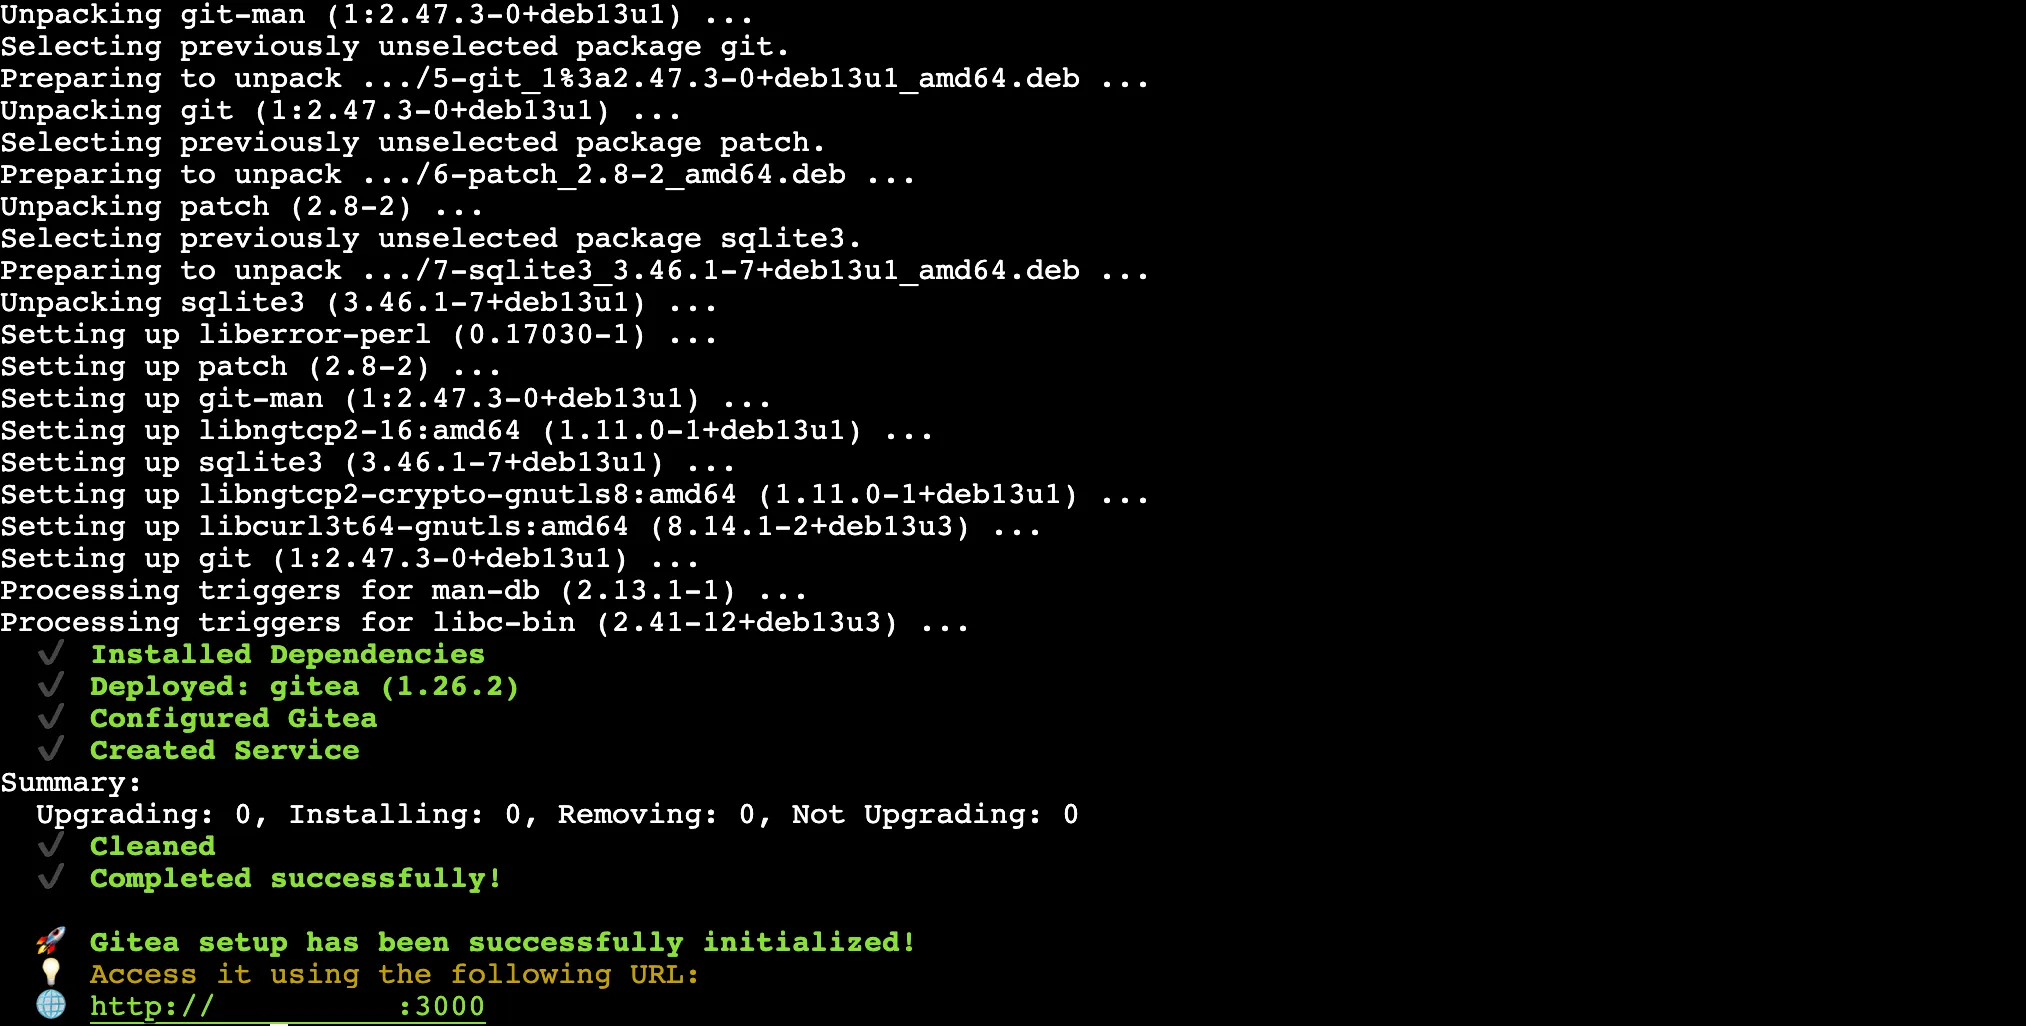
Once settings are confirmed, the rest is automatic. The script creates the container, installs Gitea and its dependencies, then starts the service. It is very fast.
Just before installation starts, the script asks about Verbose Mode. Answer Yes to see operations scroll live, which is useful to understand what is happening or diagnose an issue. With No, installation runs without detail output.
At the end, the script shows whether installation succeeded, the installed Gitea version, and the access URL, already complete with port 3000, as http://LXC_IP:3000.
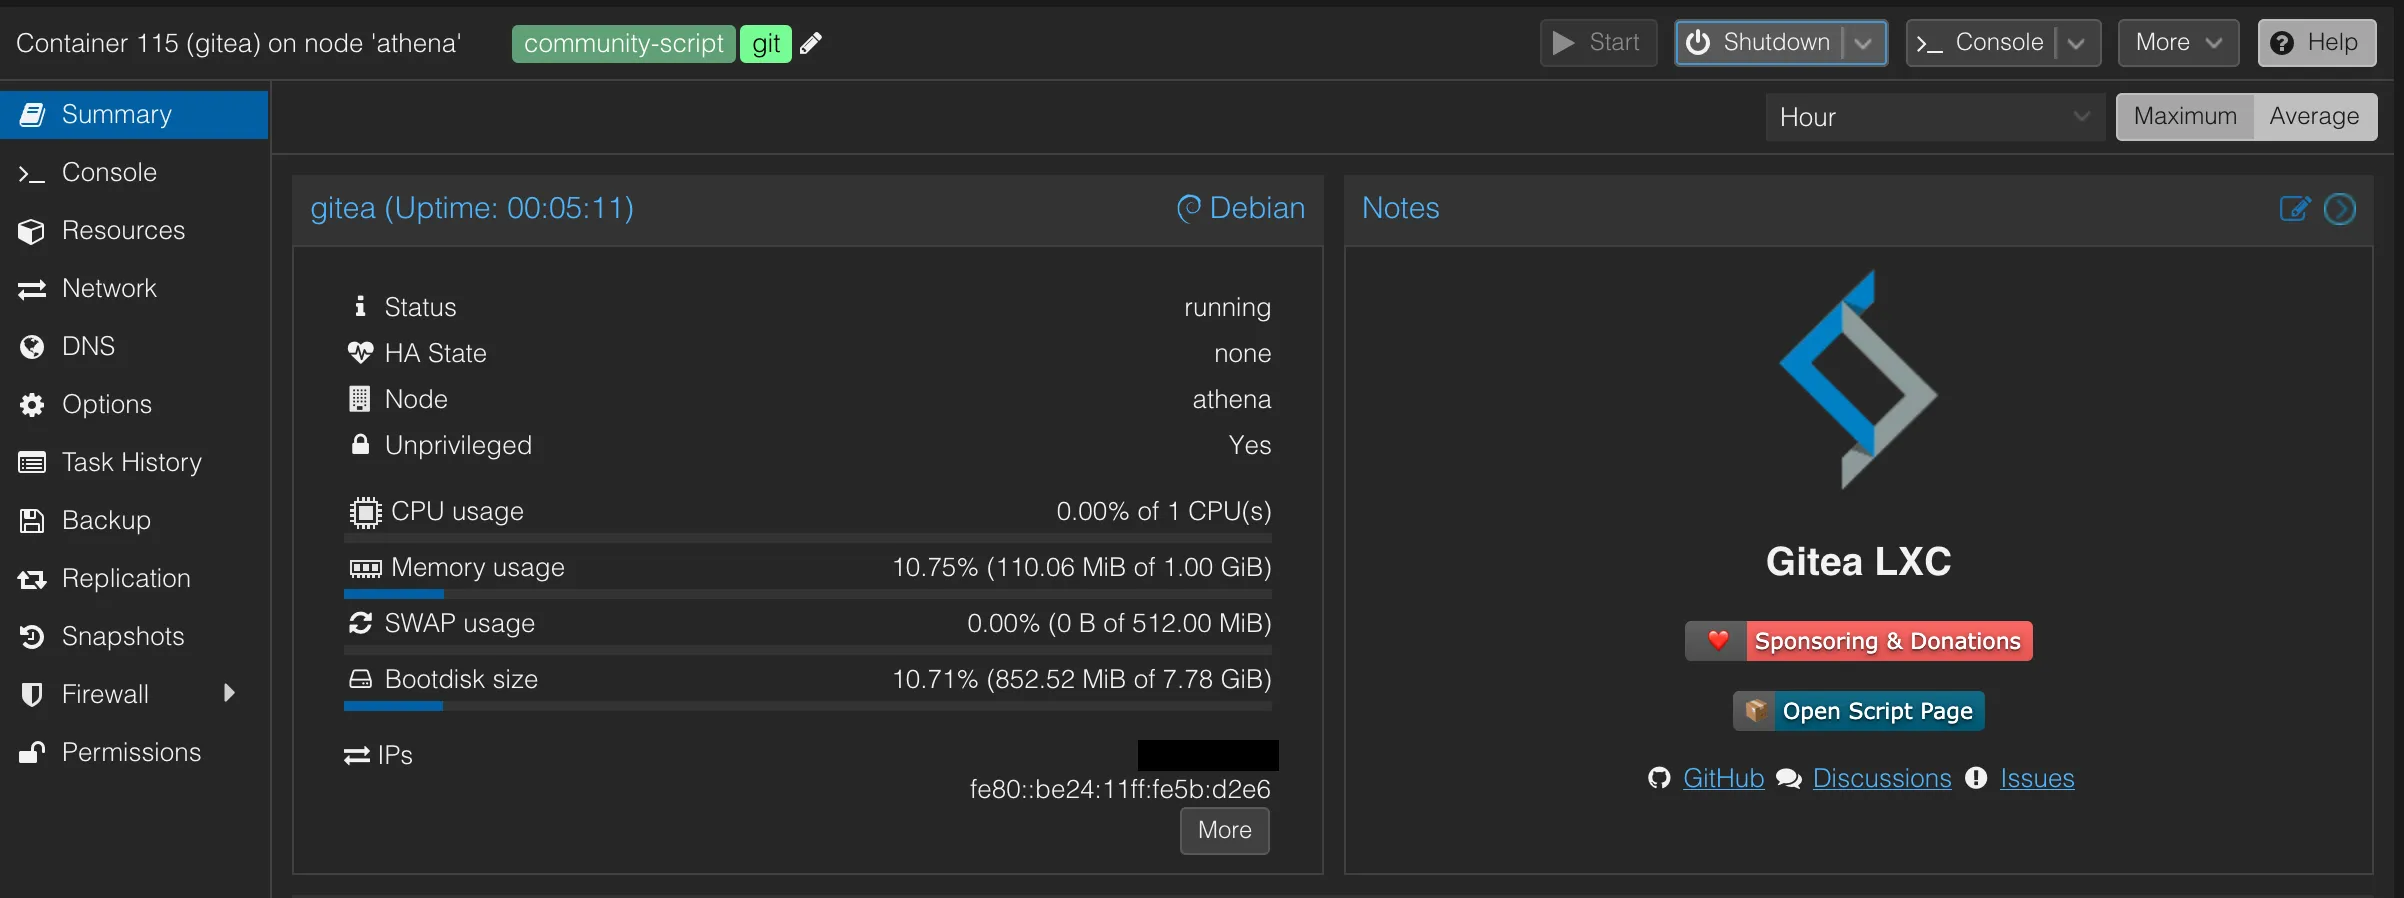
The LXC container also appears in the Proxmox tree. Its Summary tab confirms it is running (Status: running) and summarizes its resources. The tags community-script and git and the Notes panel (with shortcuts to the script page and its documentation) are added automatically, and you can edit or remove them.
4. Access the web interface
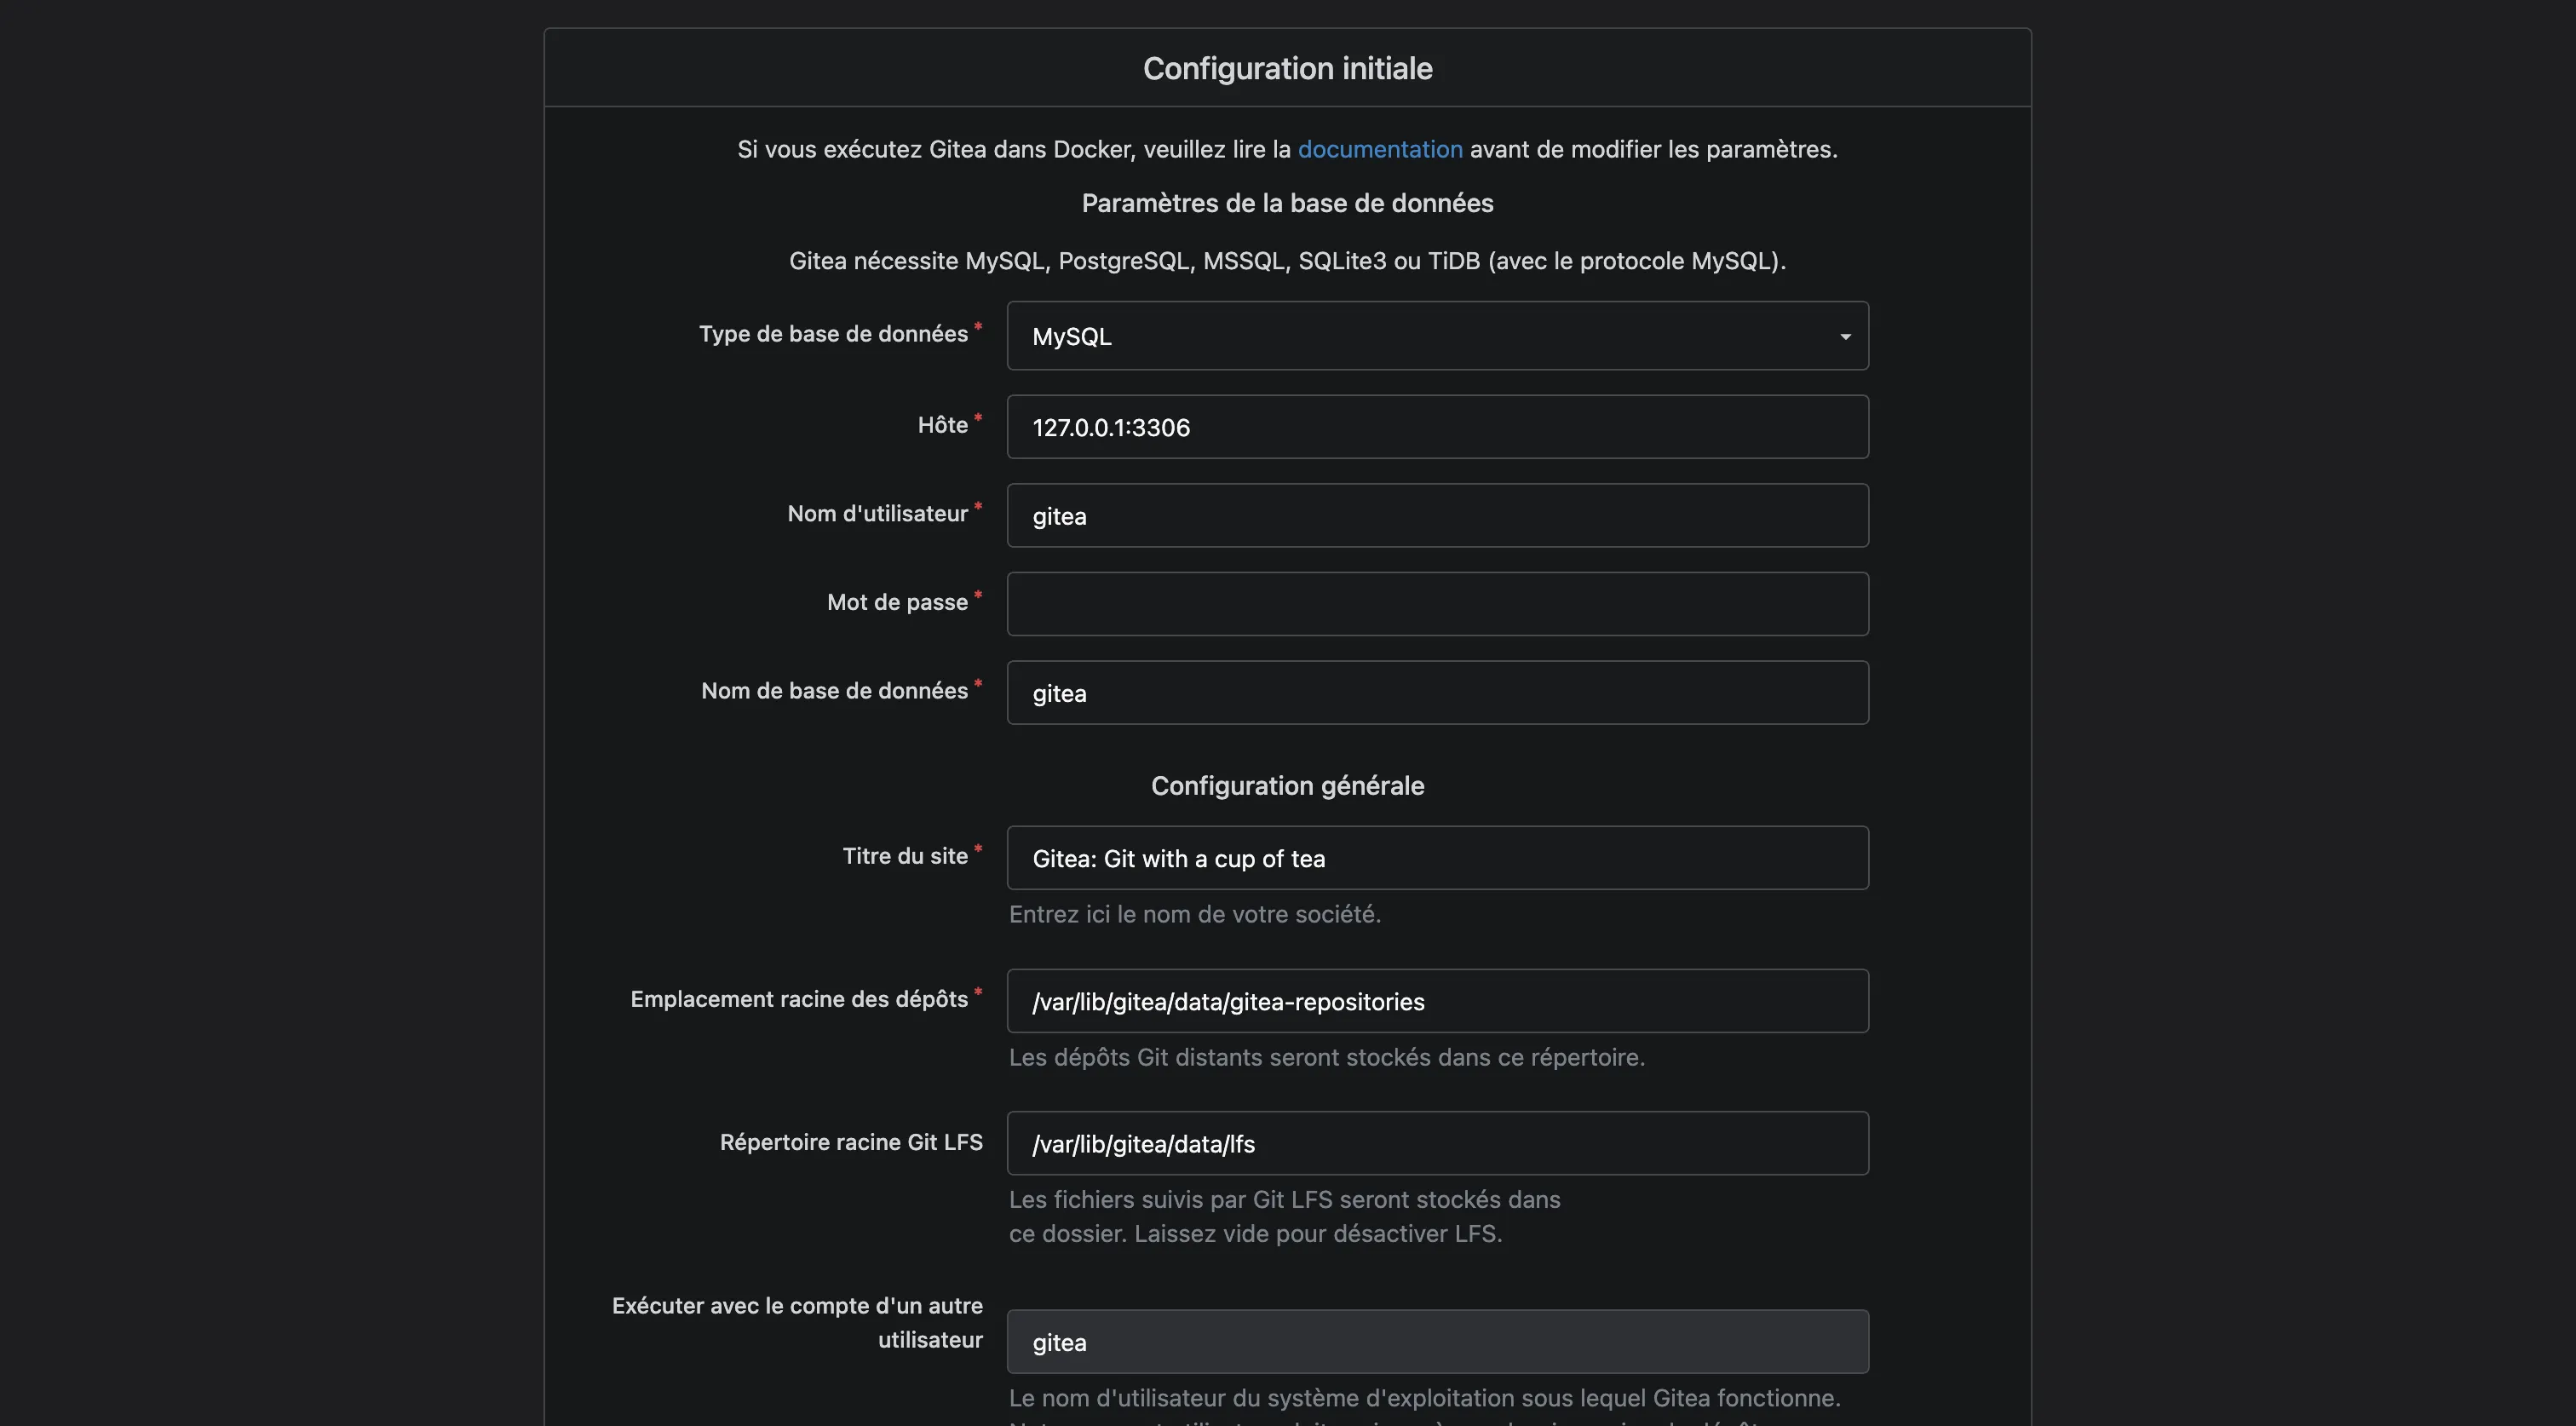
Open the URL provided at the end of installation in your browser. Gitea greets you with its initial setup wizard, where you define the database, administrator account, and instance settings.
Updates: simply type
updatein the LXC console. LXCs created by community-scripts include a custom update script that handles the rest.
Install Ubuntu 24.04 as a VM
For services that need a dedicated Linux kernel or stronger isolation, a VM is preferable to an LXC. Community-scripts also offers ready-to-use VM templates.
LXC or VM? An LXC shares the Proxmox host kernel: it starts in seconds and uses few resources. A VM runs its own kernel, so it is more isolated but heavier. For most homelab services, an LXC is enough.
1. Copy the command
On community-scripts.org, search for “Ubuntu” and copy the command for Ubuntu 24.04 VM, to run from your Proxmox node shell or via SSH:
bash -c "$(curl -fsSL https://raw.githubusercontent.com/community-scripts/ProxmoxVE/main/vm/ubuntu2404-vm.sh)"Always verify the command directly on the site.
2. Run from the node shell
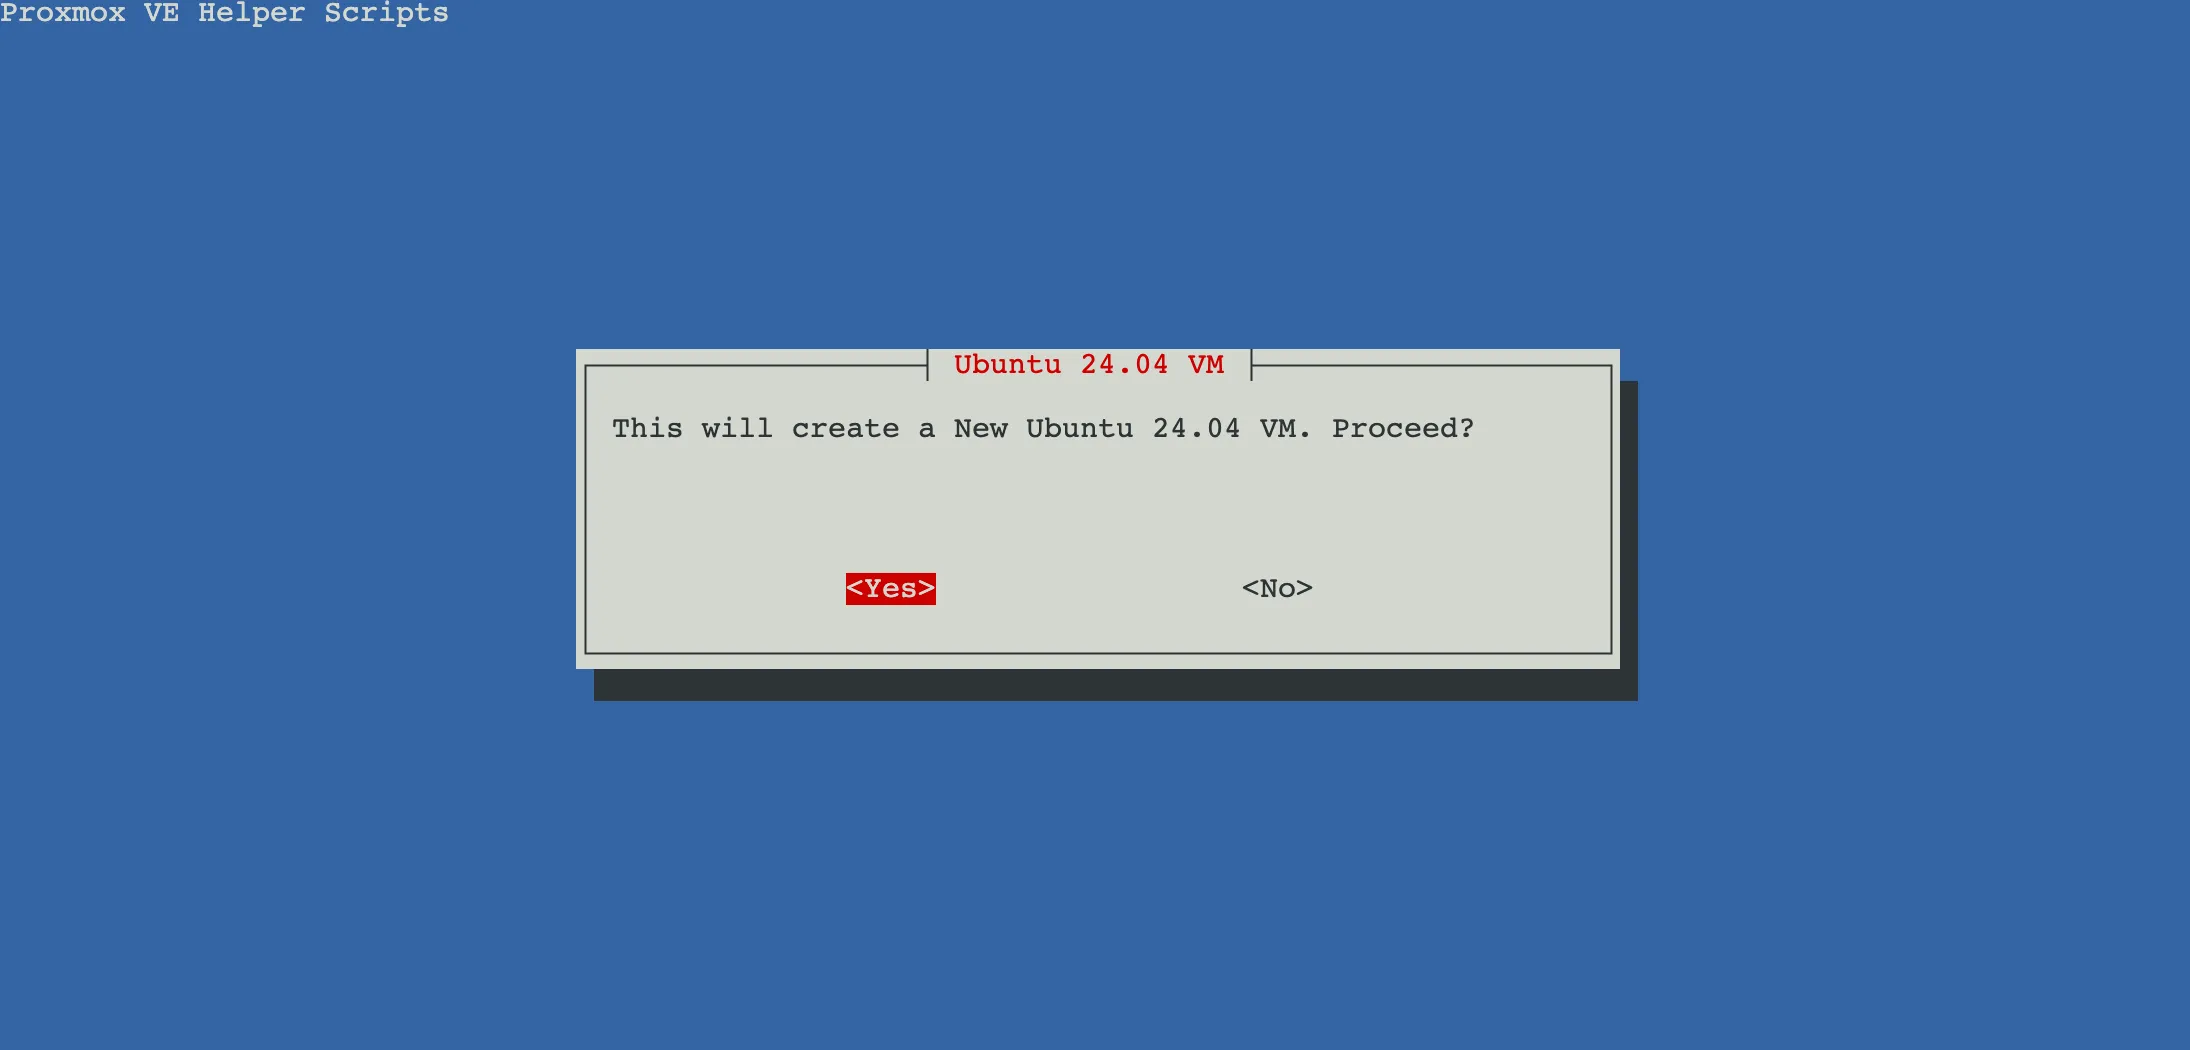
The script starts by asking for confirmation.
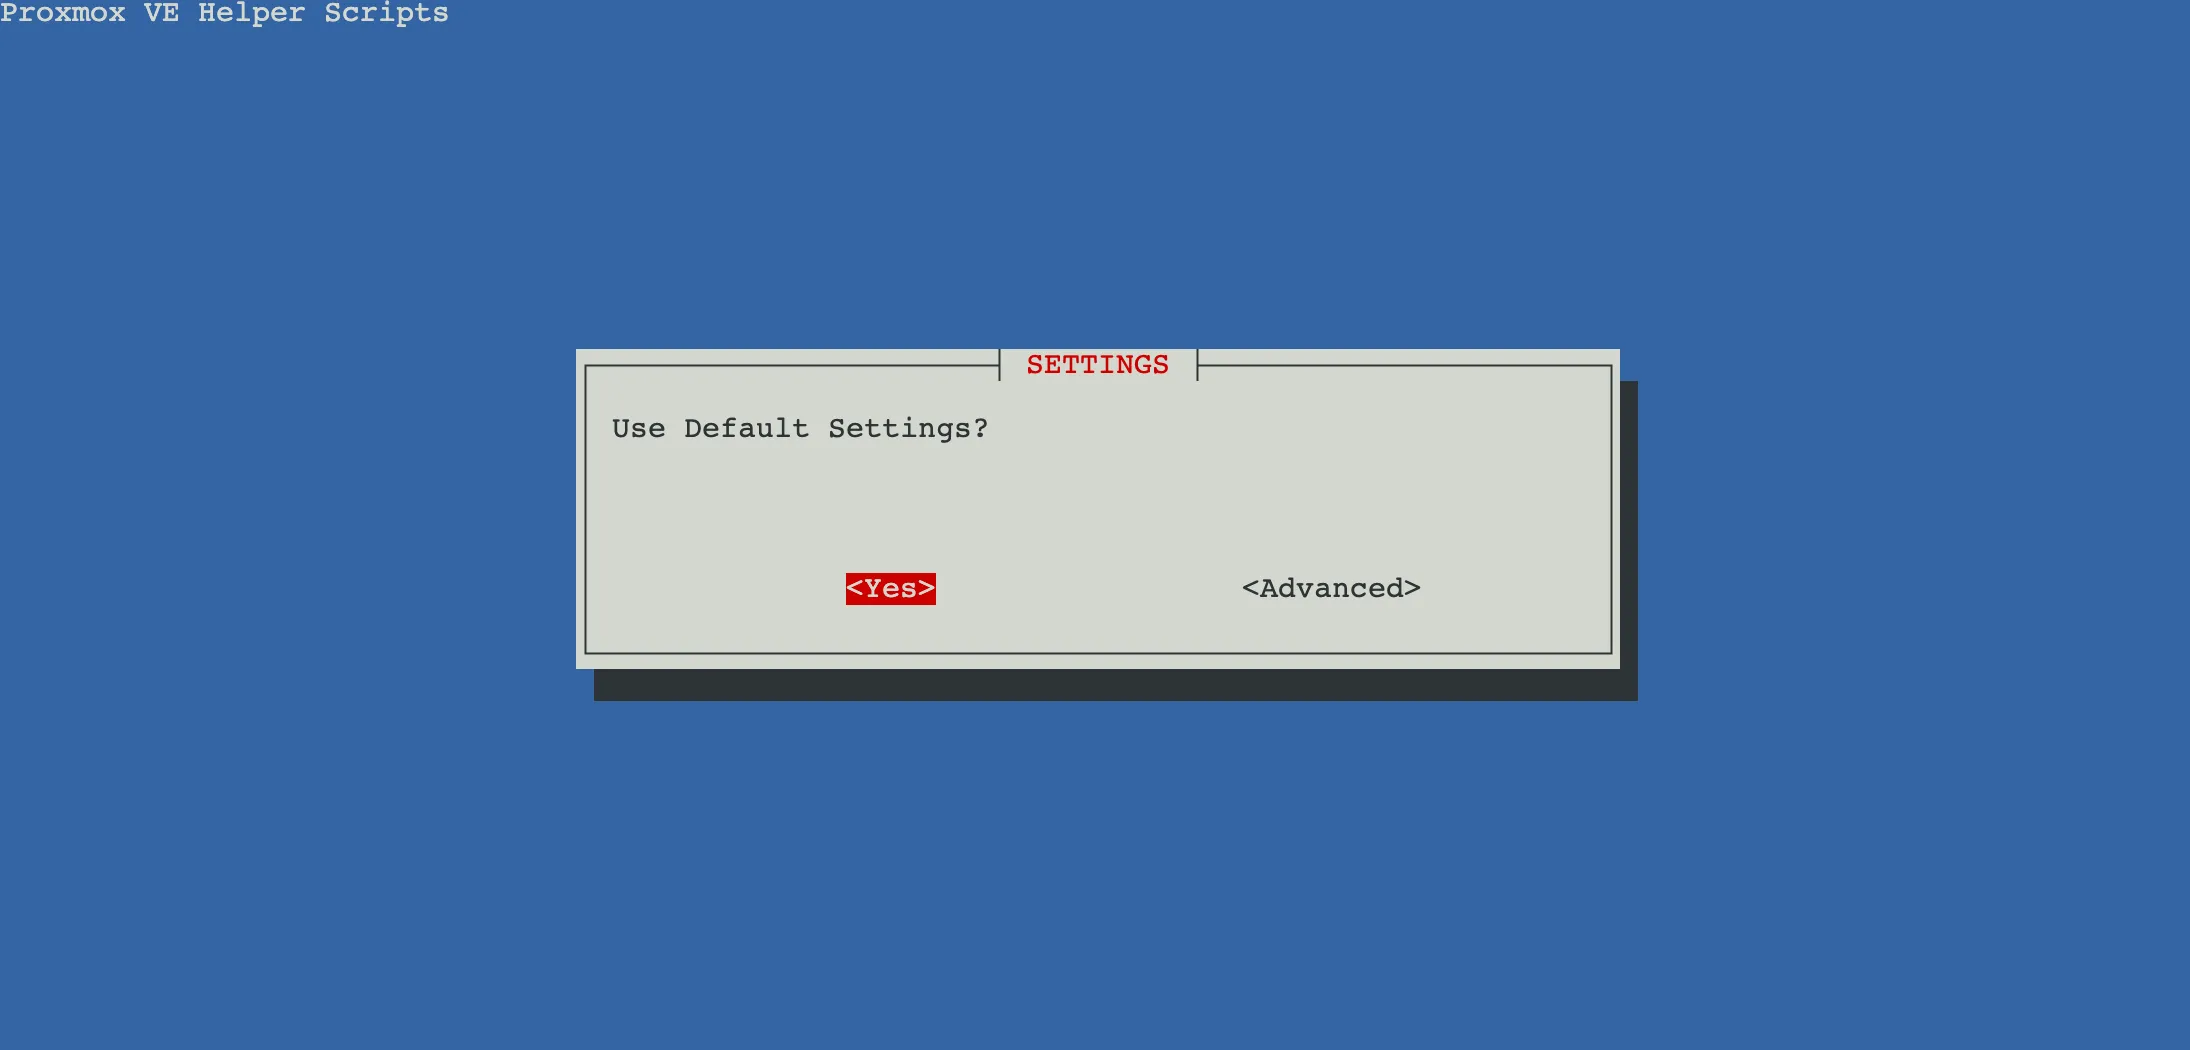
Then the script shows a “Use Default Settings?” prompt with two choices: Yes to apply default settings, or Advanced to fine-tune configuration (CPU, RAM, disk, network, etc.).
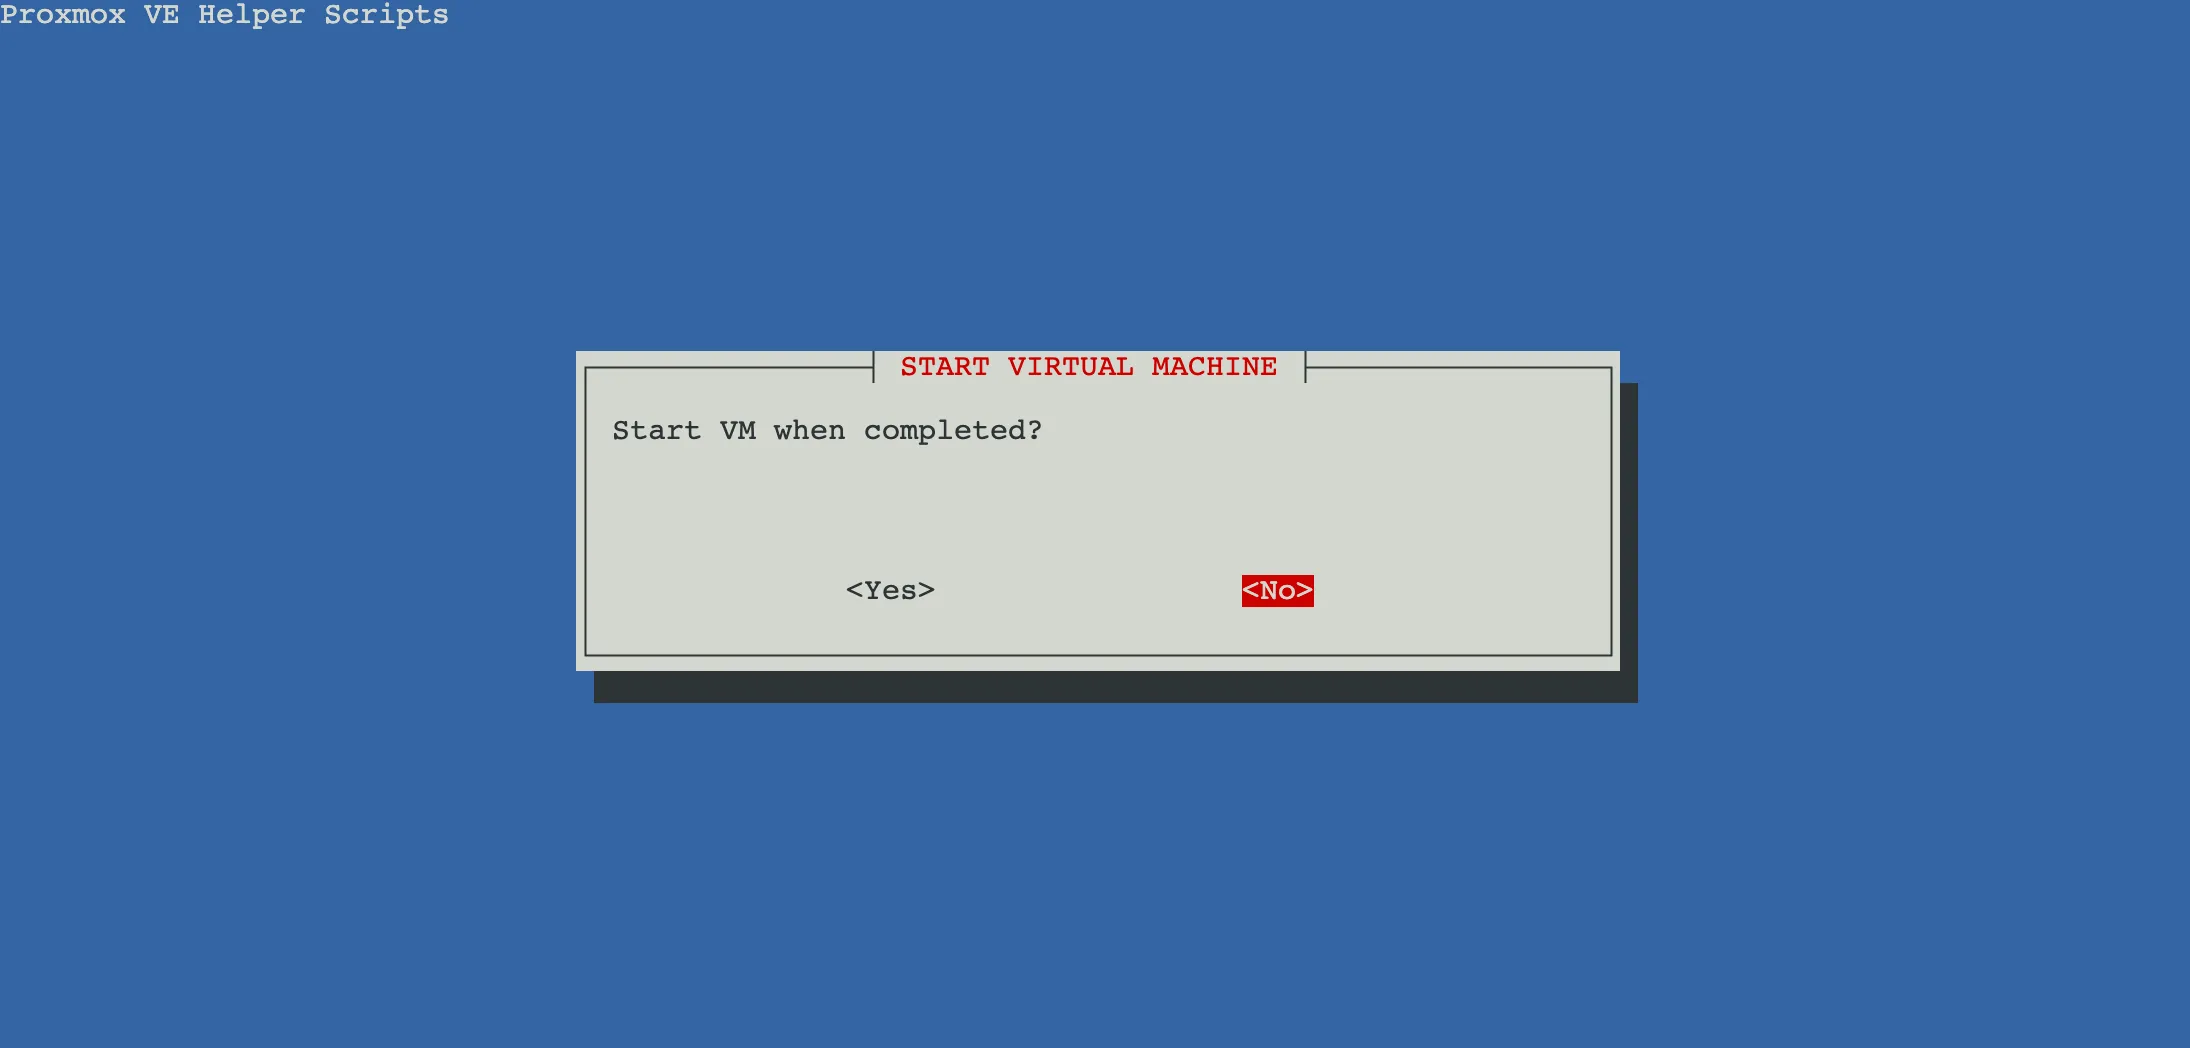
Near the end, the script asks “Start VM when completed?”. Choose No. The VM is created “empty”: until you fill in the Cloud-Init tab (user, password, SSH keys), no account will let you connect. If it booted now, you would hit a login screen with no valid credentials. Configure first, start afterward.
The script finishes and shows a summary of the created configuration.
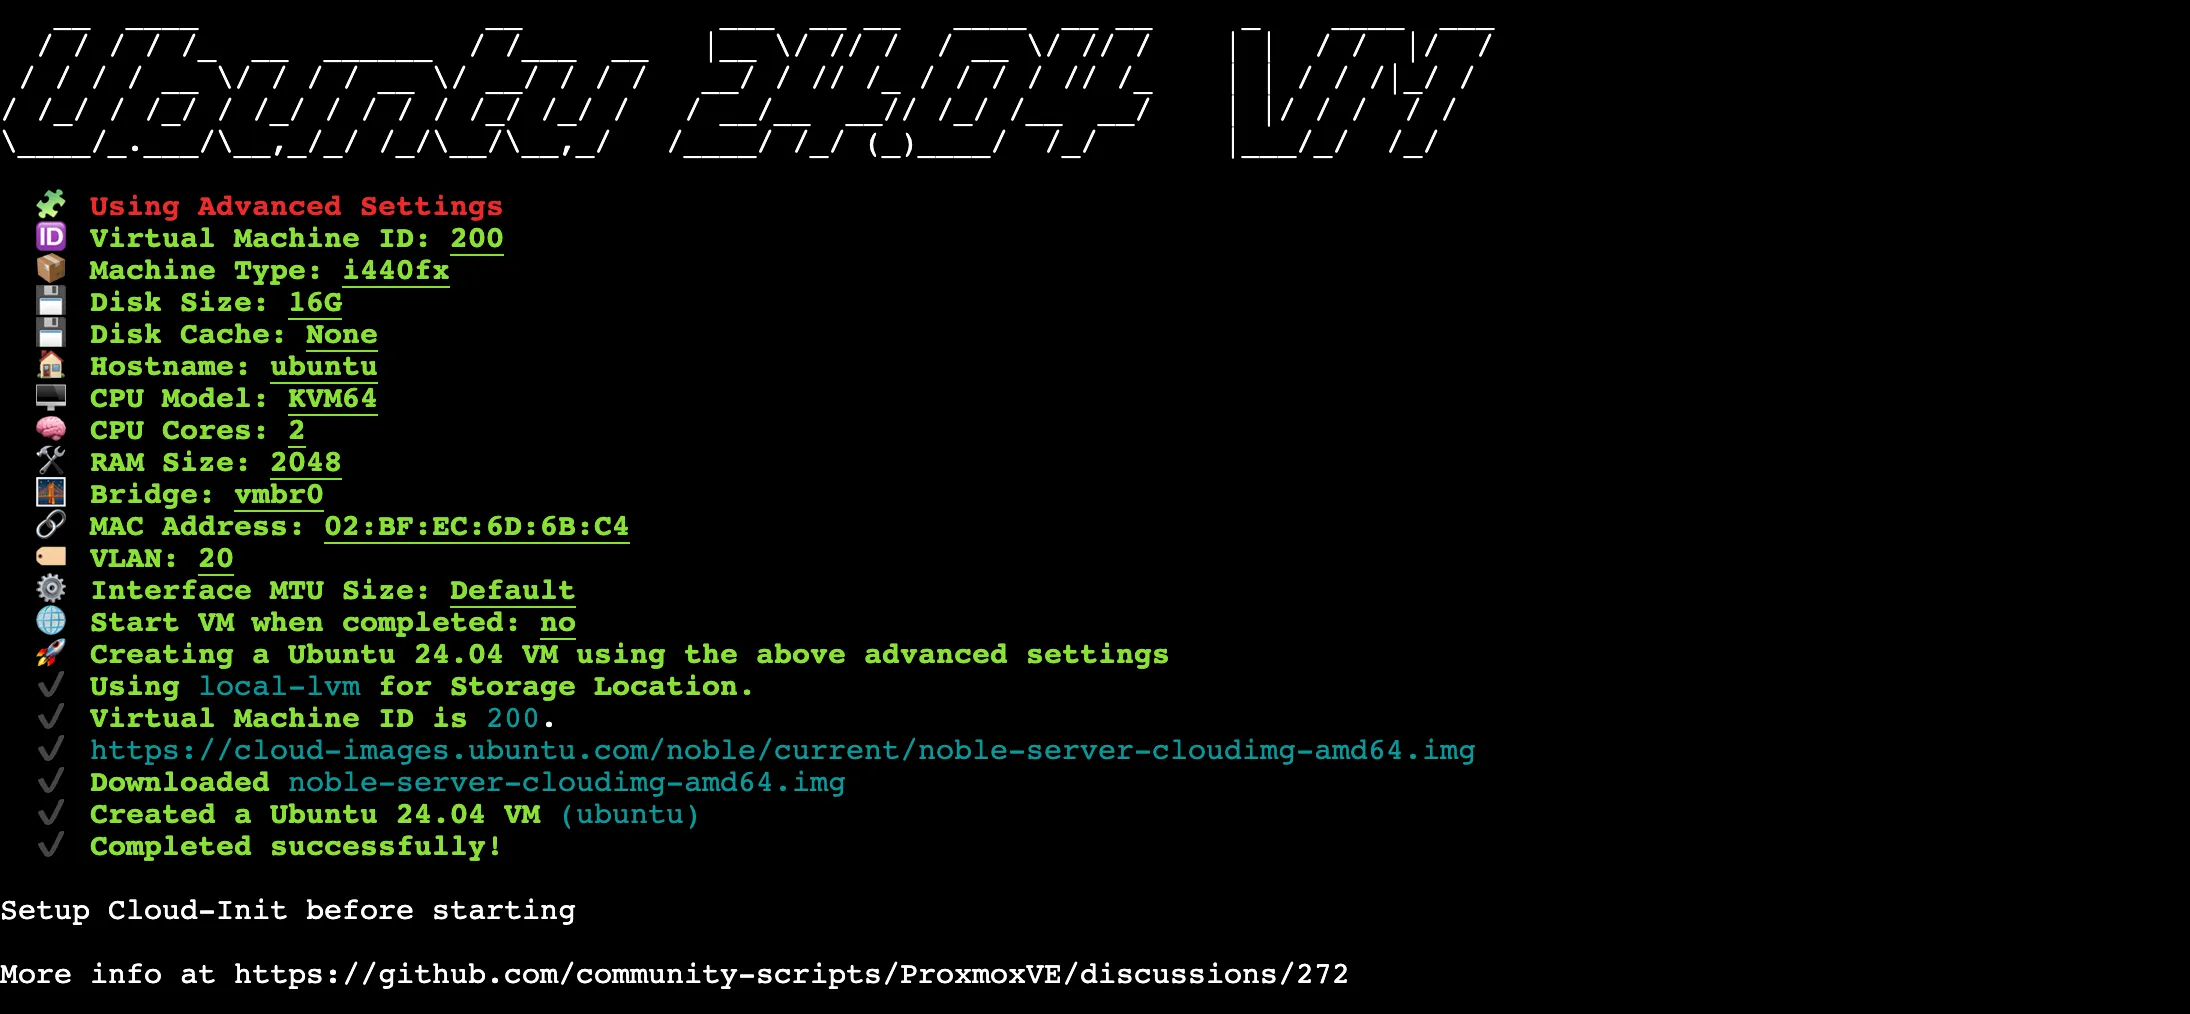
Cloud-Init: this VM uses Cloud-Init for initial setup. Cloud-Init is a standard tool that runs on a VM’s first boot to configure it automatically: username, password, IP address, SSH keys, etc. In Proxmox, that means a Cloud-Init tab in VM settings where you can set values before the first boot. For more in the community-scripts context, see this dedicated discussion on the repository.
3. Configure Cloud-Init before starting
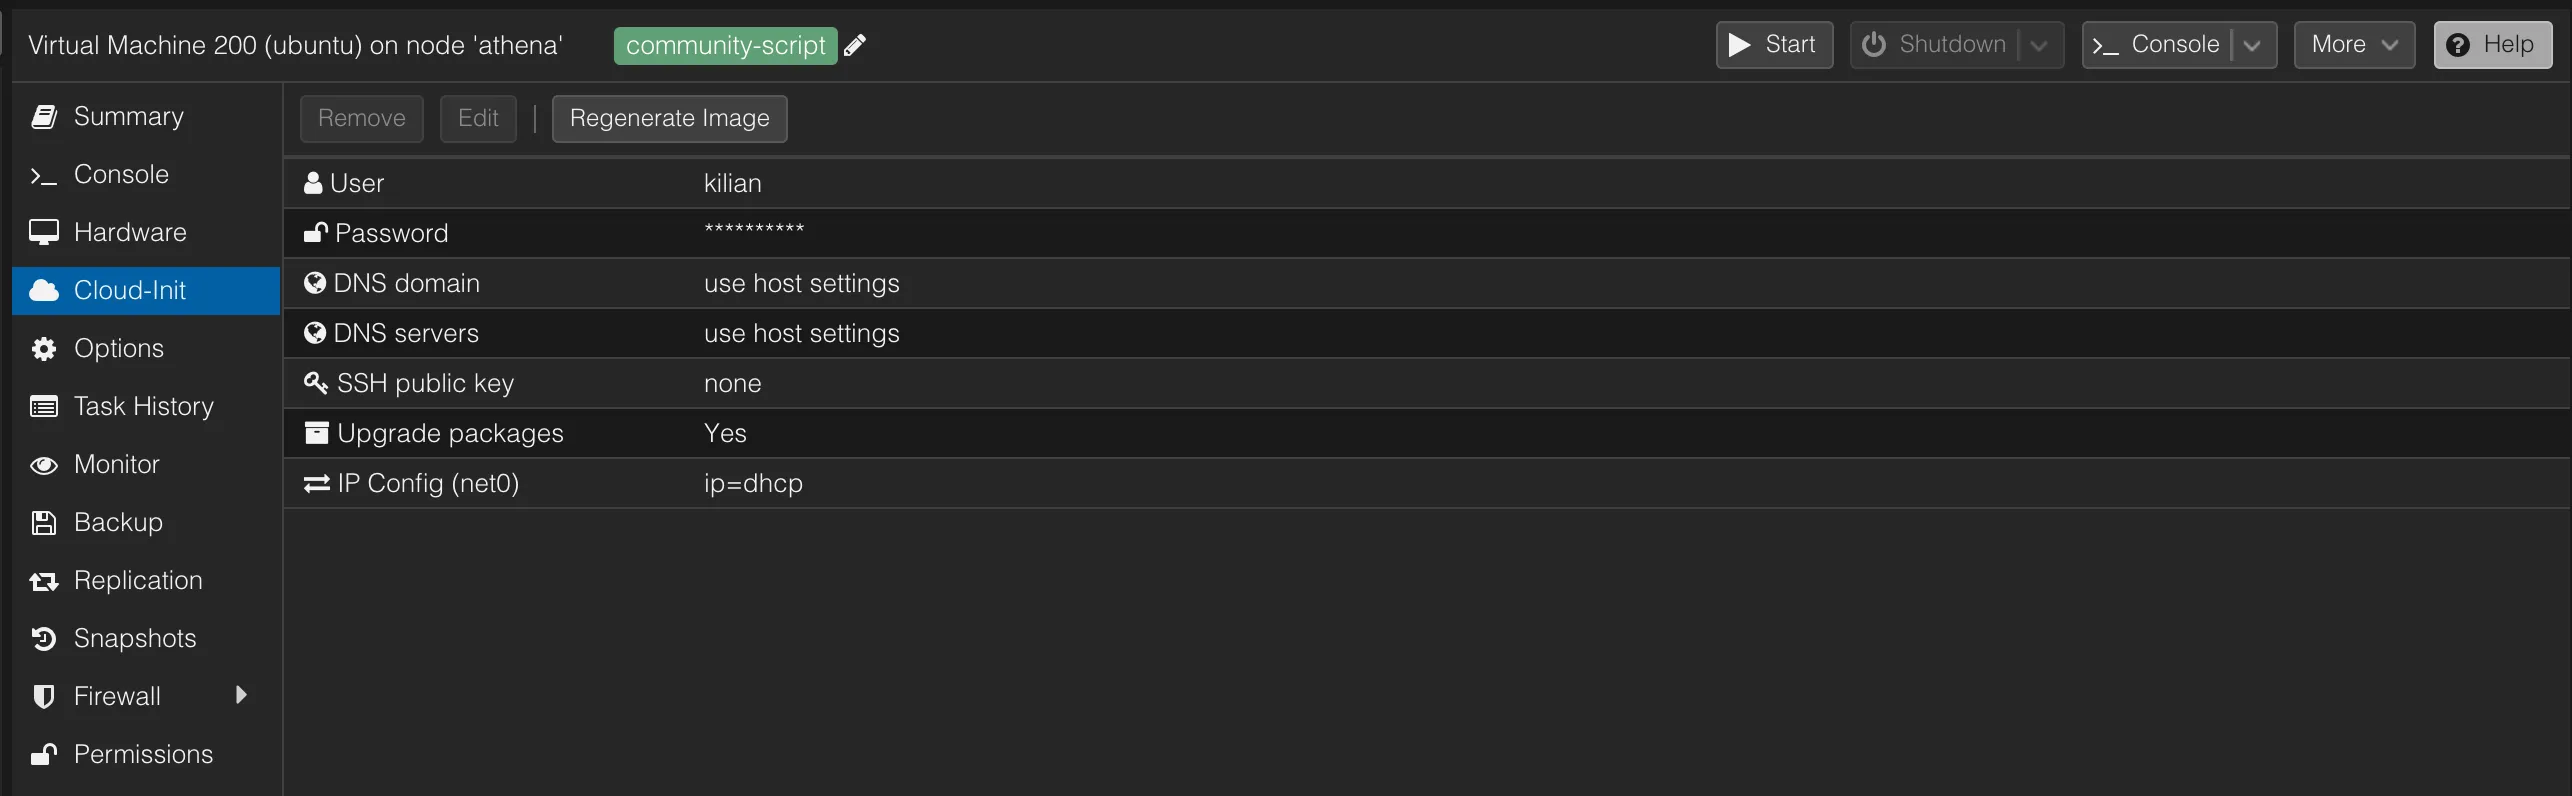
In the Proxmox interface, open the newly created VM and click the Cloud-Init tab. This is where you set the user, password, SSH keys, and network configuration. These settings are applied automatically on first boot.
4. Start the VM and connect
Once Cloud-Init is configured, start the VM from Proxmox. Connect via the built-in console or SSH with the credentials you just defined.
One advantage of Cloud-Init VM images is that they support the xterm.js console. The VM is created with a serial port, which xterm.js uses: select it from the dropdown next to the Console button and enjoy working copy-paste, a terminal that resizes with the window, and much sharper text than noVNC.
Updates: VMs do not include the LXC update mechanism. There is no dedicated update script. Use the standard package manager from the VM:
sudo apt update && sudo apt upgrade.
Conclusion
Community-scripts.org is an excellent entry point to explore what Proxmox can do. In minutes, you can deploy dozens of services on your homelab without getting lost in endless configuration.
Keep in mind these scripts are a shortcut, not a substitute for understanding what you install. Over time, read the scripts you use. You will learn a lot about Proxmox, LXCs, and Linux in general.
Once your services are running, backup becomes the next topic. LXCs and VMs created by these scripts are standard Proxmox objects: they are backed up via vzdump, whether natively, with Proxmox Backup Server, or with Plakar, whose Proxmox integration (still release candidate, v1.1.0 at the time of writing) relies on the same mechanism. To learn more about Plakar, a French open source backup solution, I wrote two articles: a full getting started guide and an off-site copy strategy with Exoscale S3 (French only for now). I will soon detail my full homelab backup strategy in a dedicated article, based on this integration for encrypted off-site copies on S3.
The full catalog is available on community-scripts.org.